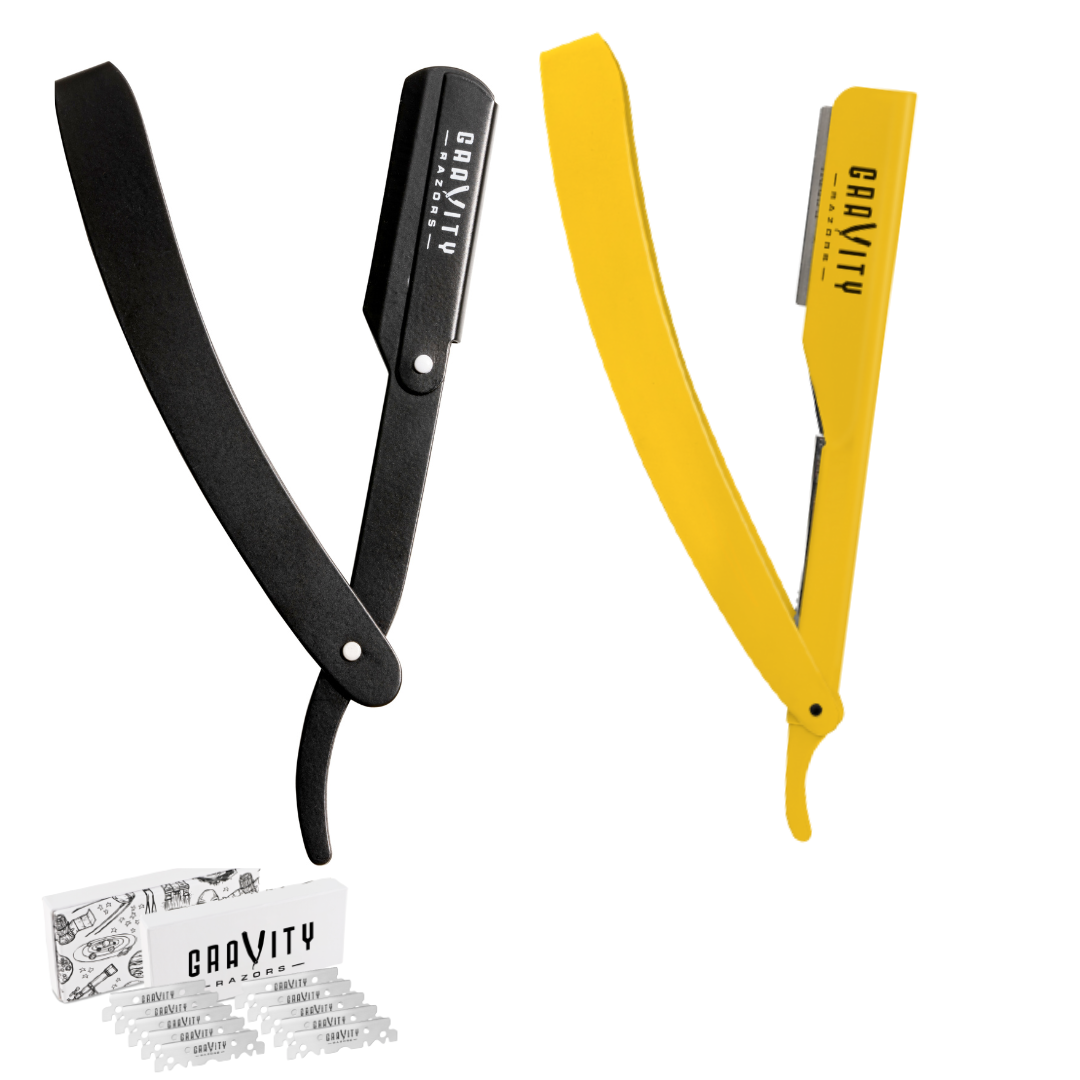
Using a straight razor for shaving is a timeless and traditional practice that offers a close and satisfying shave. While the market offers a range of beautifully crafted straight razors, there's something special about creating your own custom handle. In this guide, we will take you through the step-by-step process of making your own straight razor handle. Whether you're a DIY enthusiast or simply appreciate the art of craftsmanship, this project allows you to personalize your shaving experience and create a unique piece to cherish.
Materials and Tools (150 words) Before you begin crafting your straight razor handle, gather the necessary materials and tools. You will need:
-
A suitable piece of wood: Look for a dense hardwood such as walnut, oak, or rosewood. Ensure the wood is free from cracks and defects.
-
A straight razor blank: You can purchase a razor blank, which is the metal part of the straight razor, without the handle. Make sure the blank is compatible with the type of razor you plan to use.
-
Measuring tools: A ruler, calipers, or a tape measure will be essential for accurate measurements.
-
Cutting tools: A coping saw or a small hand saw will help shape the wood, while chisels and gouges will aid in carving and hollowing out the handle.
-
Sandpaper and finishing materials: Assorted grits of sandpaper, wood finish (such as varnish or oil), and polishing compounds will give your handle a smooth and polished appearance.
Design and Measurements
Once you have gathered your materials, it's time to plan the design and take accurate measurements for your handle. Consider the following aspects:
-
Ergonomics: Design a handle that feels comfortable and secure in your hand. Pay attention to the grip and the shape that suits your shaving technique.
-
Razor blank compatibility: Measure the dimensions of your razor blank, including the tang length and width, to ensure a proper fit. Leave some extra material at the ends for adjustments.
-
Aesthetic appeal: Decide on the overall look of your handle. Will it have intricate carvings, a smooth finish, or a combination of materials such as wood and metal?
Crafting Process
-
Preparing the wood:
- Mark the desired length of the handle on the wood.
- Cut the wood using a coping saw or a hand saw. Take your time and make precise cuts.
- Use sandpaper to smooth the rough edges and refine the shape.
-
Hollowing out the handle:
- Measure the dimensions of your razor tang and transfer those measurements to the wood.
- With a chisel or a gouge, carefully remove the excess wood from the inside of the handle, creating a cavity for the razor tang.
- Regularly check the fit by inserting the tang into the cavity until it sits securely.
-
Shaping and carving:
- Use your chosen cutting tools to shape the handle according to your design. Take it slow and make small adjustments as needed.
- Add any decorative carvings or embellishments, ensuring they do not compromise the structural integrity of the handle.
-
Finishing touches:
- Sand the entire handle, starting with coarse grit sandpaper and gradually moving to finer grits for a smooth finish.
- Apply your preferred wood finish, such as varnish or oil, following the manufacturer's instructions.
- Once the finish has dried, use polishing compounds to bring out the shine in the wood.
Installation and Testing
Once your handle is complete, it's time to attach it to the razor blank. Carefully insert the tang of the blank into the cavity of the handle, ensuring a snug fit. If necessary, you can use epoxy or adhesive specifically designed for woodworking to secure the connection.
After the handle is securely attached, it's essential to test the functionality and comfort of your newly crafted straight razor. Gently hold the razor and practice different shaving motions to ensure the handle provides a comfortable grip and allows for precise control.
Maintenance and Care
To keep your custom straight razor handle in optimal condition, proper maintenance is crucial. After each use, rinse the razor thoroughly with warm water to remove any soap or hair residue. Dry it carefully to prevent moisture buildup. Additionally, periodically oil the handle with a fine wood oil or conditioner to maintain its luster and protect it from drying out or cracking.
Crafting your own straight razor handle is a rewarding endeavor that allows you to create a personalized and unique shaving tool. By following the steps outlined in this guide, you can embark on a journey of craftsmanship and enjoy a shaving experience that is truly one-of-a-kind.
