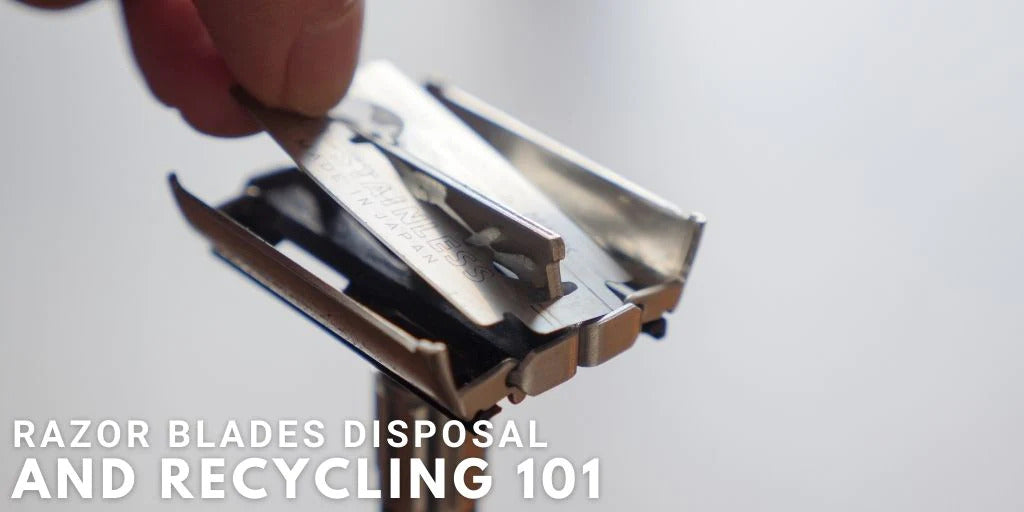
Straight razors have long been revered for their precision and effectiveness in achieving a close shave. However, with great power comes great responsibility, and one aspect that often gets overlooked is the proper disposal of used straight razor blades. Due to their sharpness and potential to cause harm, it's crucial to follow the right steps when disposing of these blades. In this guide, we'll walk you through the process of safely and responsibly disposing of used straight razor blades.
Improperly disposing of used razor blades can pose a significant risk to both individuals and the environment. Sharp blades thrown directly into the trash can lead to injuries for waste management workers and even household members who handle the garbage. Additionally, these blades can end up in landfills, potentially causing harm to wildlife and polluting the environment.
-
Container with a Lid: Find a puncture-resistant container with a secure lid. This will prevent accidental injuries and contain the blades during disposal.
-
Tape: Masking tape or duct tape can be used to secure the container's lid in case it's not a screw-on type.
-
Marker: A marker will help you clearly label the container to indicate that it contains sharp objects.
-
Gloves: Wear gloves to protect your hands while handling the used razor blades.
Step 1: Shave Carefully Before you even get to disposal, practice safe shaving techniques. Proper technique can extend the life of your blade and reduce the frequency of disposal.
Step 2: Allow the Blade to Cool If you've been using hot water while shaving, allow the blade to cool down before handling it.
Step 3: Remove the Blade Carefully remove the used blade from your straight razor. Hold it by the sides to minimize the risk of accidental cuts.
Step 4: Prepare the Container Take your puncture-resistant container and open the lid. If the container doesn't have a screw-on lid, tape the lid shut using masking tape or duct tape. This will prevent the lid from accidentally coming off.
Step 5: Place the Blade Inside Gently drop the used blade into the container. Ensure that the blade goes in smoothly and doesn't stick out from the sides.
Step 6: Seal and Label the Container Securely close the container's lid. Use a marker to clearly write "Used Razor Blades" on the container. This label will indicate to anyone handling the container that it contains sharp objects.
Step 7: Store Temporarily Store the container in a safe and out-of-reach location until you're ready to properly dispose of it. Make sure it's not accessible to children or pets.
Step 8: Locate a Razor Blade Disposal Site Contact your local waste management facility, recycling center, or pharmacy to inquire about razor blade disposal options in your area. Some places provide special disposal containers for sharp objects.
Step 9: Transport for Disposal If the disposal site requires you to transport the container, make sure it's securely closed and labeled. Place it in a sturdy bag or box to prevent punctures during transportation.
Step 10: Follow Disposal Instructions Follow the instructions provided by the disposal site. This might involve handing over the container at a designated location or dropping it into a specific disposal bin.
In some regions, blade disposal banks or kiosks might be available. These are specialized containers designed for the safe disposal of used razor blades. They are often found in pharmacies or other community locations. Research whether such options are available near you.
Properly disposing of used straight razor blades is a responsibility that comes with the use of such tools. By following these steps, you can ensure the safety of yourself, your household members, waste management workers, and the environment. Always prioritize safety and take the extra time to handle and dispose of sharp objects responsibly.
